November 16,2023
Enterprise Name
The sealant has very strong adhesion and performs well even on glass and aluminum. After curing, it remains flexible and shows no cracking. Perfect for our facade projects.
Jul 6, 2026
When Acrylic Sealant for Wall and Ceiling is applied to walls and ceilings, the surface should not be touched or painted right away. Contractors and procurement managers say that speeding up the drying process is the biggest mistake they see on the job site. A lot of Acrylic Sealant for Wall and Ceiling products dry in about 30 minutes, but it takes a lot longer for them to fully cure. When you move the bead before it hardens, the adhesion breaks down, the surface changes shape, and the protection is weakened. During the first part of curing, the seal can be completely destroyed by water, high temperatures, or physical stress. Knowing what not to do will protect your investment and make sure that both home and business projects last for a long time.
Figuring out what Acrylic Sealant for Wall and Ceiling does after it's been used. Acrylics that are built on water dry by loss of water, not molecular crosslinking like silicone does. This big difference changes how we deal with the material after it's been applied.
As water molecules leave our one-part RTV Acrylic Sealant for Wall and Ceiling, it changes from a paste to a plasto-elastic rubber. In normal conditions, skin forms quickly—in about 30 minutes—but deeper layers take hours or even days, based on how deep the joints are and how humid the air is. Contractors often mix up "dry to the touch" and "fully cured." Just because something has a skin on the outside doesn't mean it's hard inside. If you skip steps based on how dry the surface is, the glue will fail to stick together and tear inside.
The material composition matters. The mixture has acrylic emulsions that are 80–85% solid, which is meant to keep shrinking to a minimum. As the water evaporates, the seed gets a little smaller. If there is too much movement during this phase, the material will pull away from the edges of the base, leaving holes that don't work for sealing. Our fast-drying recipe strikes the best balance between these two factors, but proper handling is still necessary no matter how good the product is.
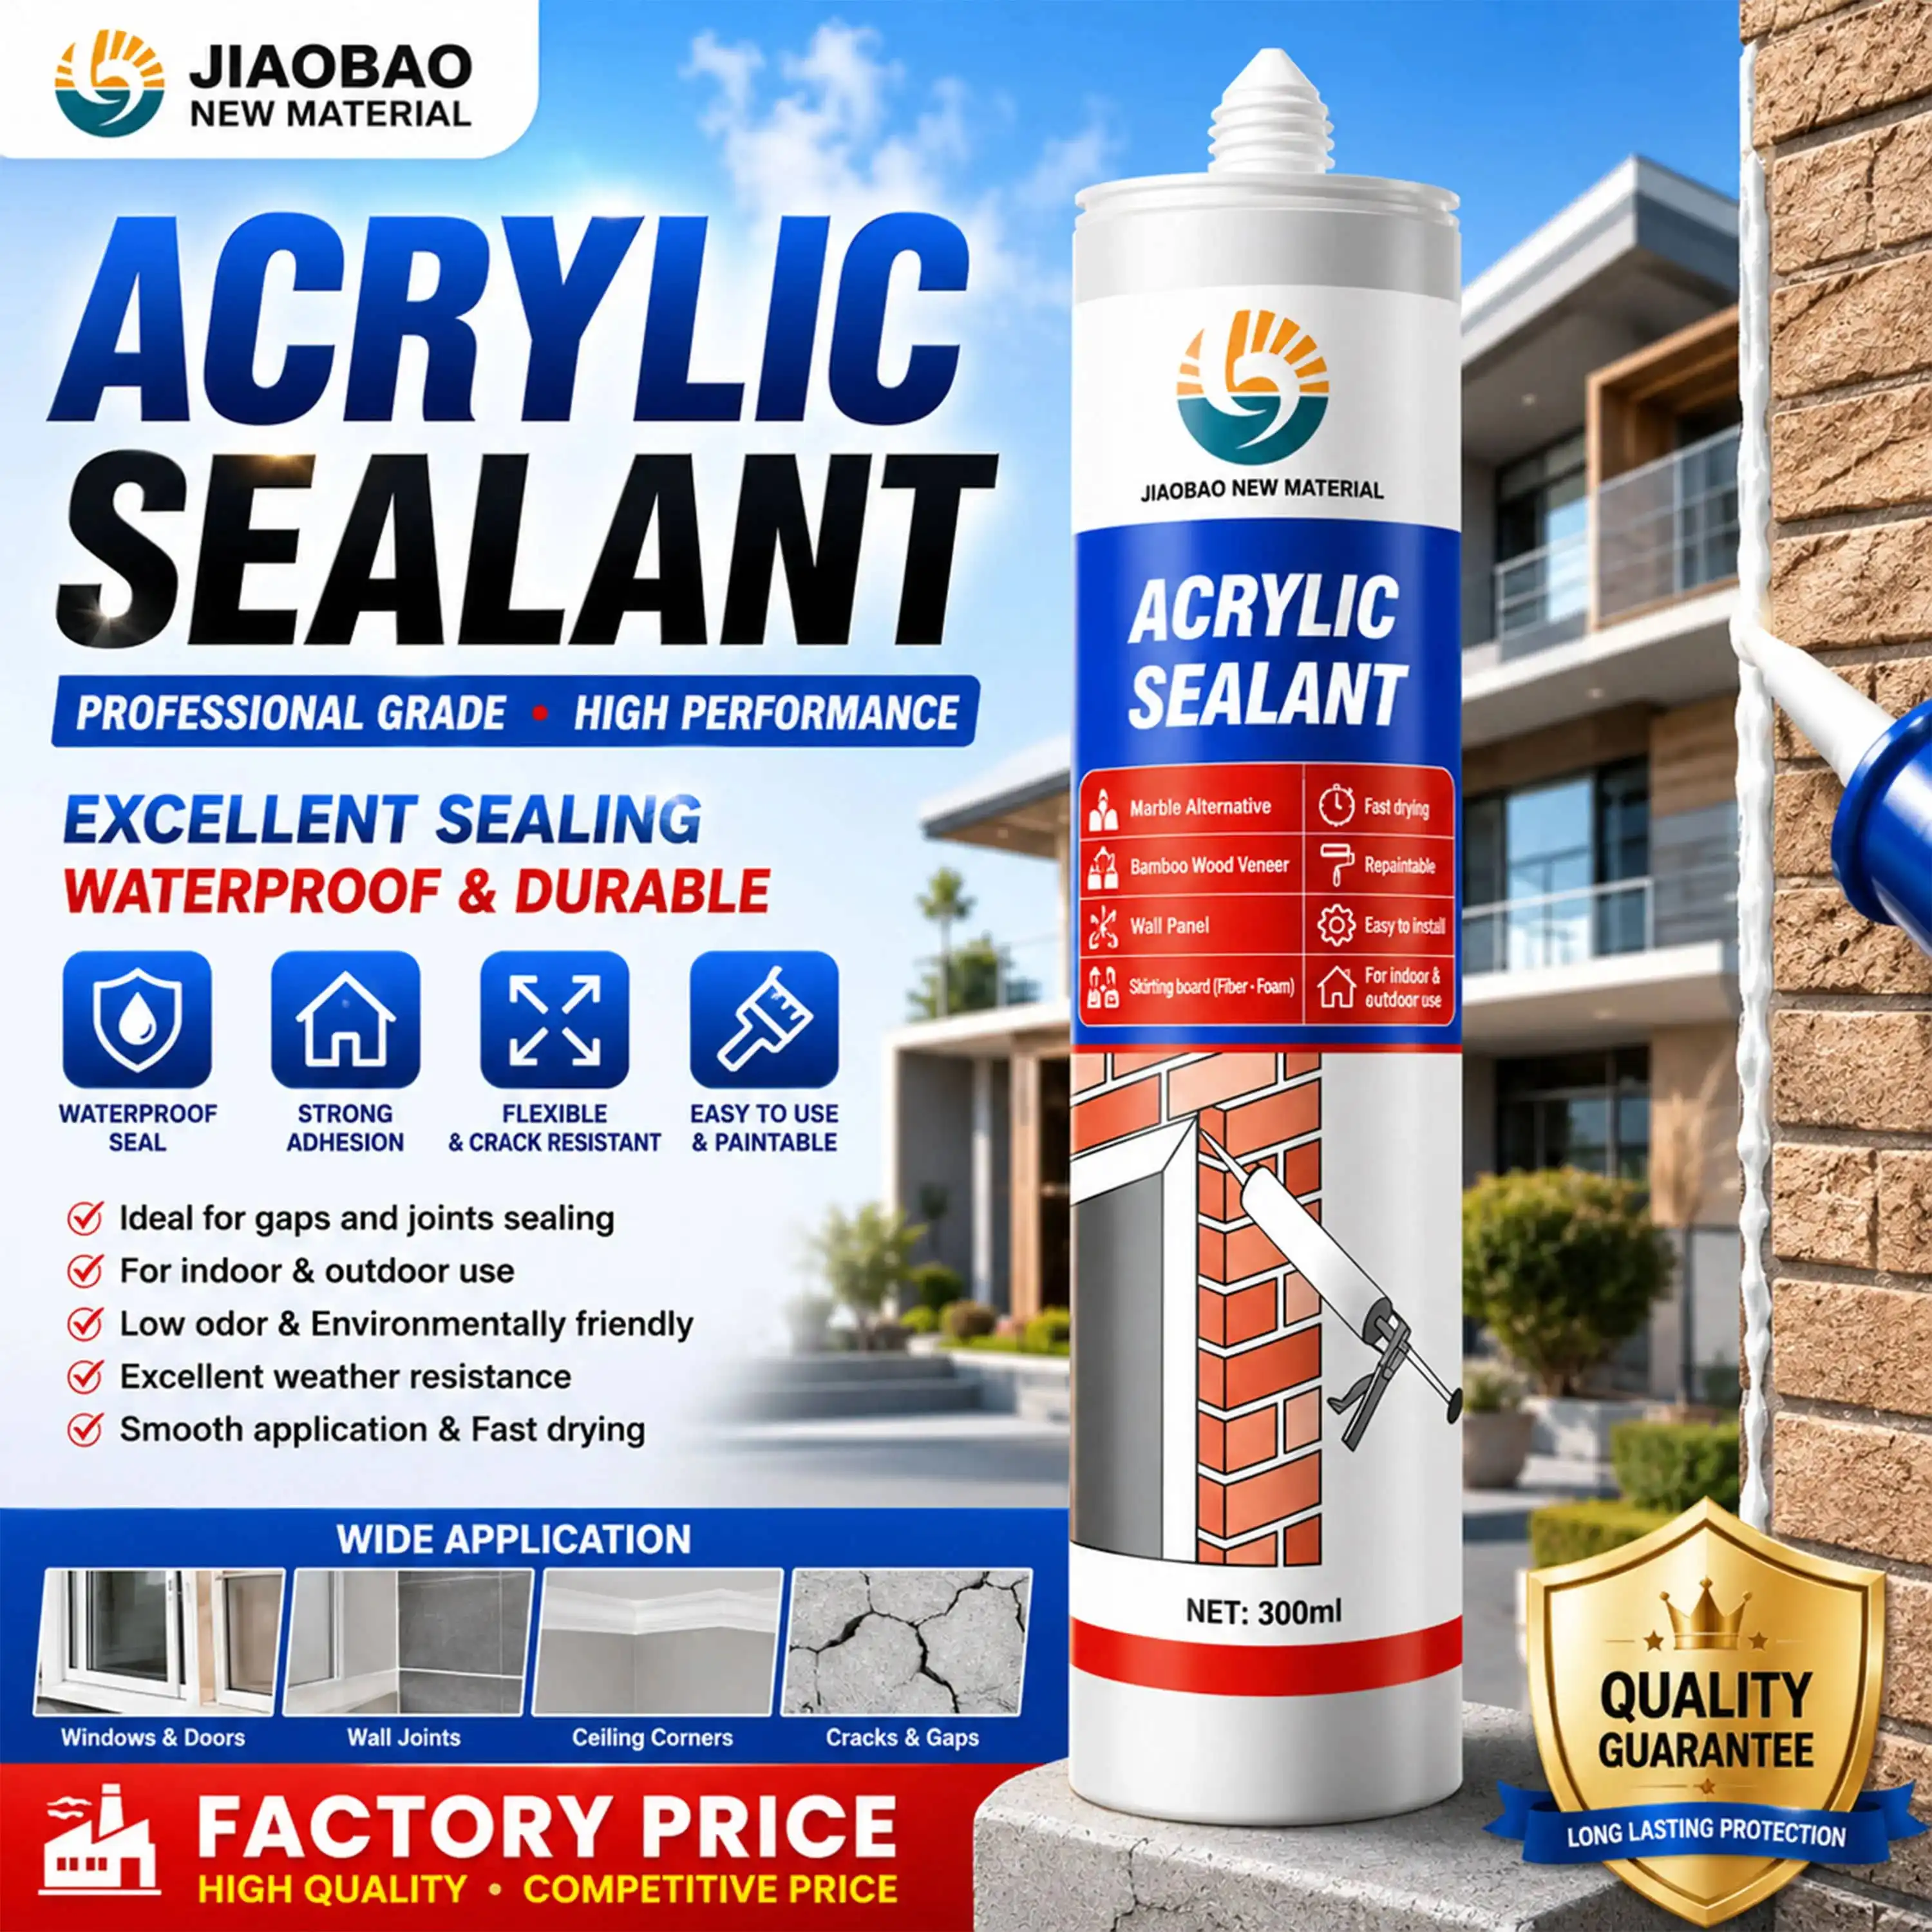
Making sure mistakes don't happen during the vulnerable curing window of Acrylic Sealant for Wall and Ceiling saves project timelines and cuts down on expensive repairs.
Do not paint right away after applying. If you paint too soon, the topcoat will crack because the sealing underneath is still shrinking. This problem, called "crazing," makes finishes look bad and needs to be completely removed and reapplied. Our product is touch-dry in about 30 minutes, but the effects are better if you wait two to three hours before painting. It's important that the finish makes a stable skin that won't change shape when paint gets wet and heavy. When used at the right time, latex and water-based paints stick very well to acrylic surfaces that have hardened. Temperature and humidity affect how fast something cures. If it's cold or damp, you have to wait a lot longer.
Do not let water get on new sealant. Uncured Acrylic Sealant for Wall and Ceiling materials are re-emulsified by water. When you clean nearby surfaces with wet tools or come across sudden wetness, it washes off the sealant before it hardens. Because of this, acrylic shouldn't be used in places that are always wet, like bathroom enclosures. However, it's great for places like door frames, window edges, and roof joints where moisture doesn't happen all the time. If you are working near open windows or in partially enclosed areas, keep newly placed beads out of the rain. Our product's chemistry stays fixed for 12 months, but how well it works in the real world depends on how it is exposed to the surroundings during use.
Do not repeatedly touch or use tools. If you smooth or touch the forming surface film too much, you can mess it up and add contaminants that make bonding weaker. Cleanly put on the bead, work it in once with a finger or spoon that has been wet, and then leave it alone. Our sealant sticks well to painted surfaces, bricks, concrete, plasterboard, gypsum board, wood, metal frames, ceramic tiles, glass, and concrete, but only if the first touch isn't broken. When tools are used over and over, they make tiny tears that eventually turn into cracks.
Don't skip getting the surface ready. If you put sealant on top of surfaces that are dirty, greasy, or flaky, it will not stick. The substance depends on chemical bonds with clean bases and mechanical interlocking with porous surfaces. When buying things for curtain wall projects, procurement managers know that surface prep makes the difference between a seal that lasts two years and one that lasts twenty. Clean the joints with rubbing alcohol or the right cleaner, let them dry, and then apply. If you skip this step, performance promises are null and void, and business projects can run into liability problems.
Do not move the joints while they are being cured. Structures that settle, expand, or vibrate during the fix window put stress on the forming polymer matrix. According to ISO 11600 guidelines, Acrylic Sealant for Wall and Ceiling products can move ±7.5% to ±12.5% after they are fully sealed, but they aren't very flexible while they're curing. Fresh beads can get deformed by hitting doors, walking on them, or the HVAC system rotating. If you can, plan sealing work for times when there isn't much going on. After hardening, our tensile strength hits 0.64 MPa, which is higher than the normal range of 0.4 to 0.6 MPa. However, this strength grows gradually over the course of days.
Following the right steps after applying Acrylic Sealant for Wall and Ceiling will make it last longer and give you the best return on your investment.
Control the weather while the cure is happening. For the best drying, keep the temperature between 5°C and 40°C and the relative humidity between 40 and 70%. Extreme cold makes it take longer for water to evaporate, which can change repair times. Too much heat can make the outside crust over while the inside stays soft, holding moisture and stopping the fix from finishing. Our water-based, low-VOC product works safely in busy areas and doesn't produce much of an odor, even in closed rooms. However, good ventilation speeds up the curing process and makes working conditions better.
After installation, check the joints often. Visual inspection can find early signs of stress before they become a problem. Look for cracks in the surface, bead shrinking pulling away from the base edges, or discoloration that means water got in. Acrylic Sealant for Wall and Ceiling applications don't grow mold as easily as organic ones, but if they stay wet for a long time, problems will arise. Commercial property managers set up inspection plans so that high-traffic areas are checked every three months and regular installs are checked once a year. When problems are found early, they can be fixed easily instead of needing a lot of work.
Plan follow-up maintenance in the right way. Acrylic Sealant for Wall and Ceiling materials usually last between 5 and 10 years in safe indoor settings before they need to be replaced. UV exposure (which isn't much inside), material movement, and cleaning chemical contact are all things that can shorten the life of something. Once our product is dry, it can handle regular home cleaners. However, harsh acids break down acrylic polymers over time. Write down the times of installation and make repair plans based on how things are worn down. Customers who buy in bulk profit from providers like Jiaobao that keep the formula the same across batches. This makes sure that colors match and that phased projects can be planned for performance.
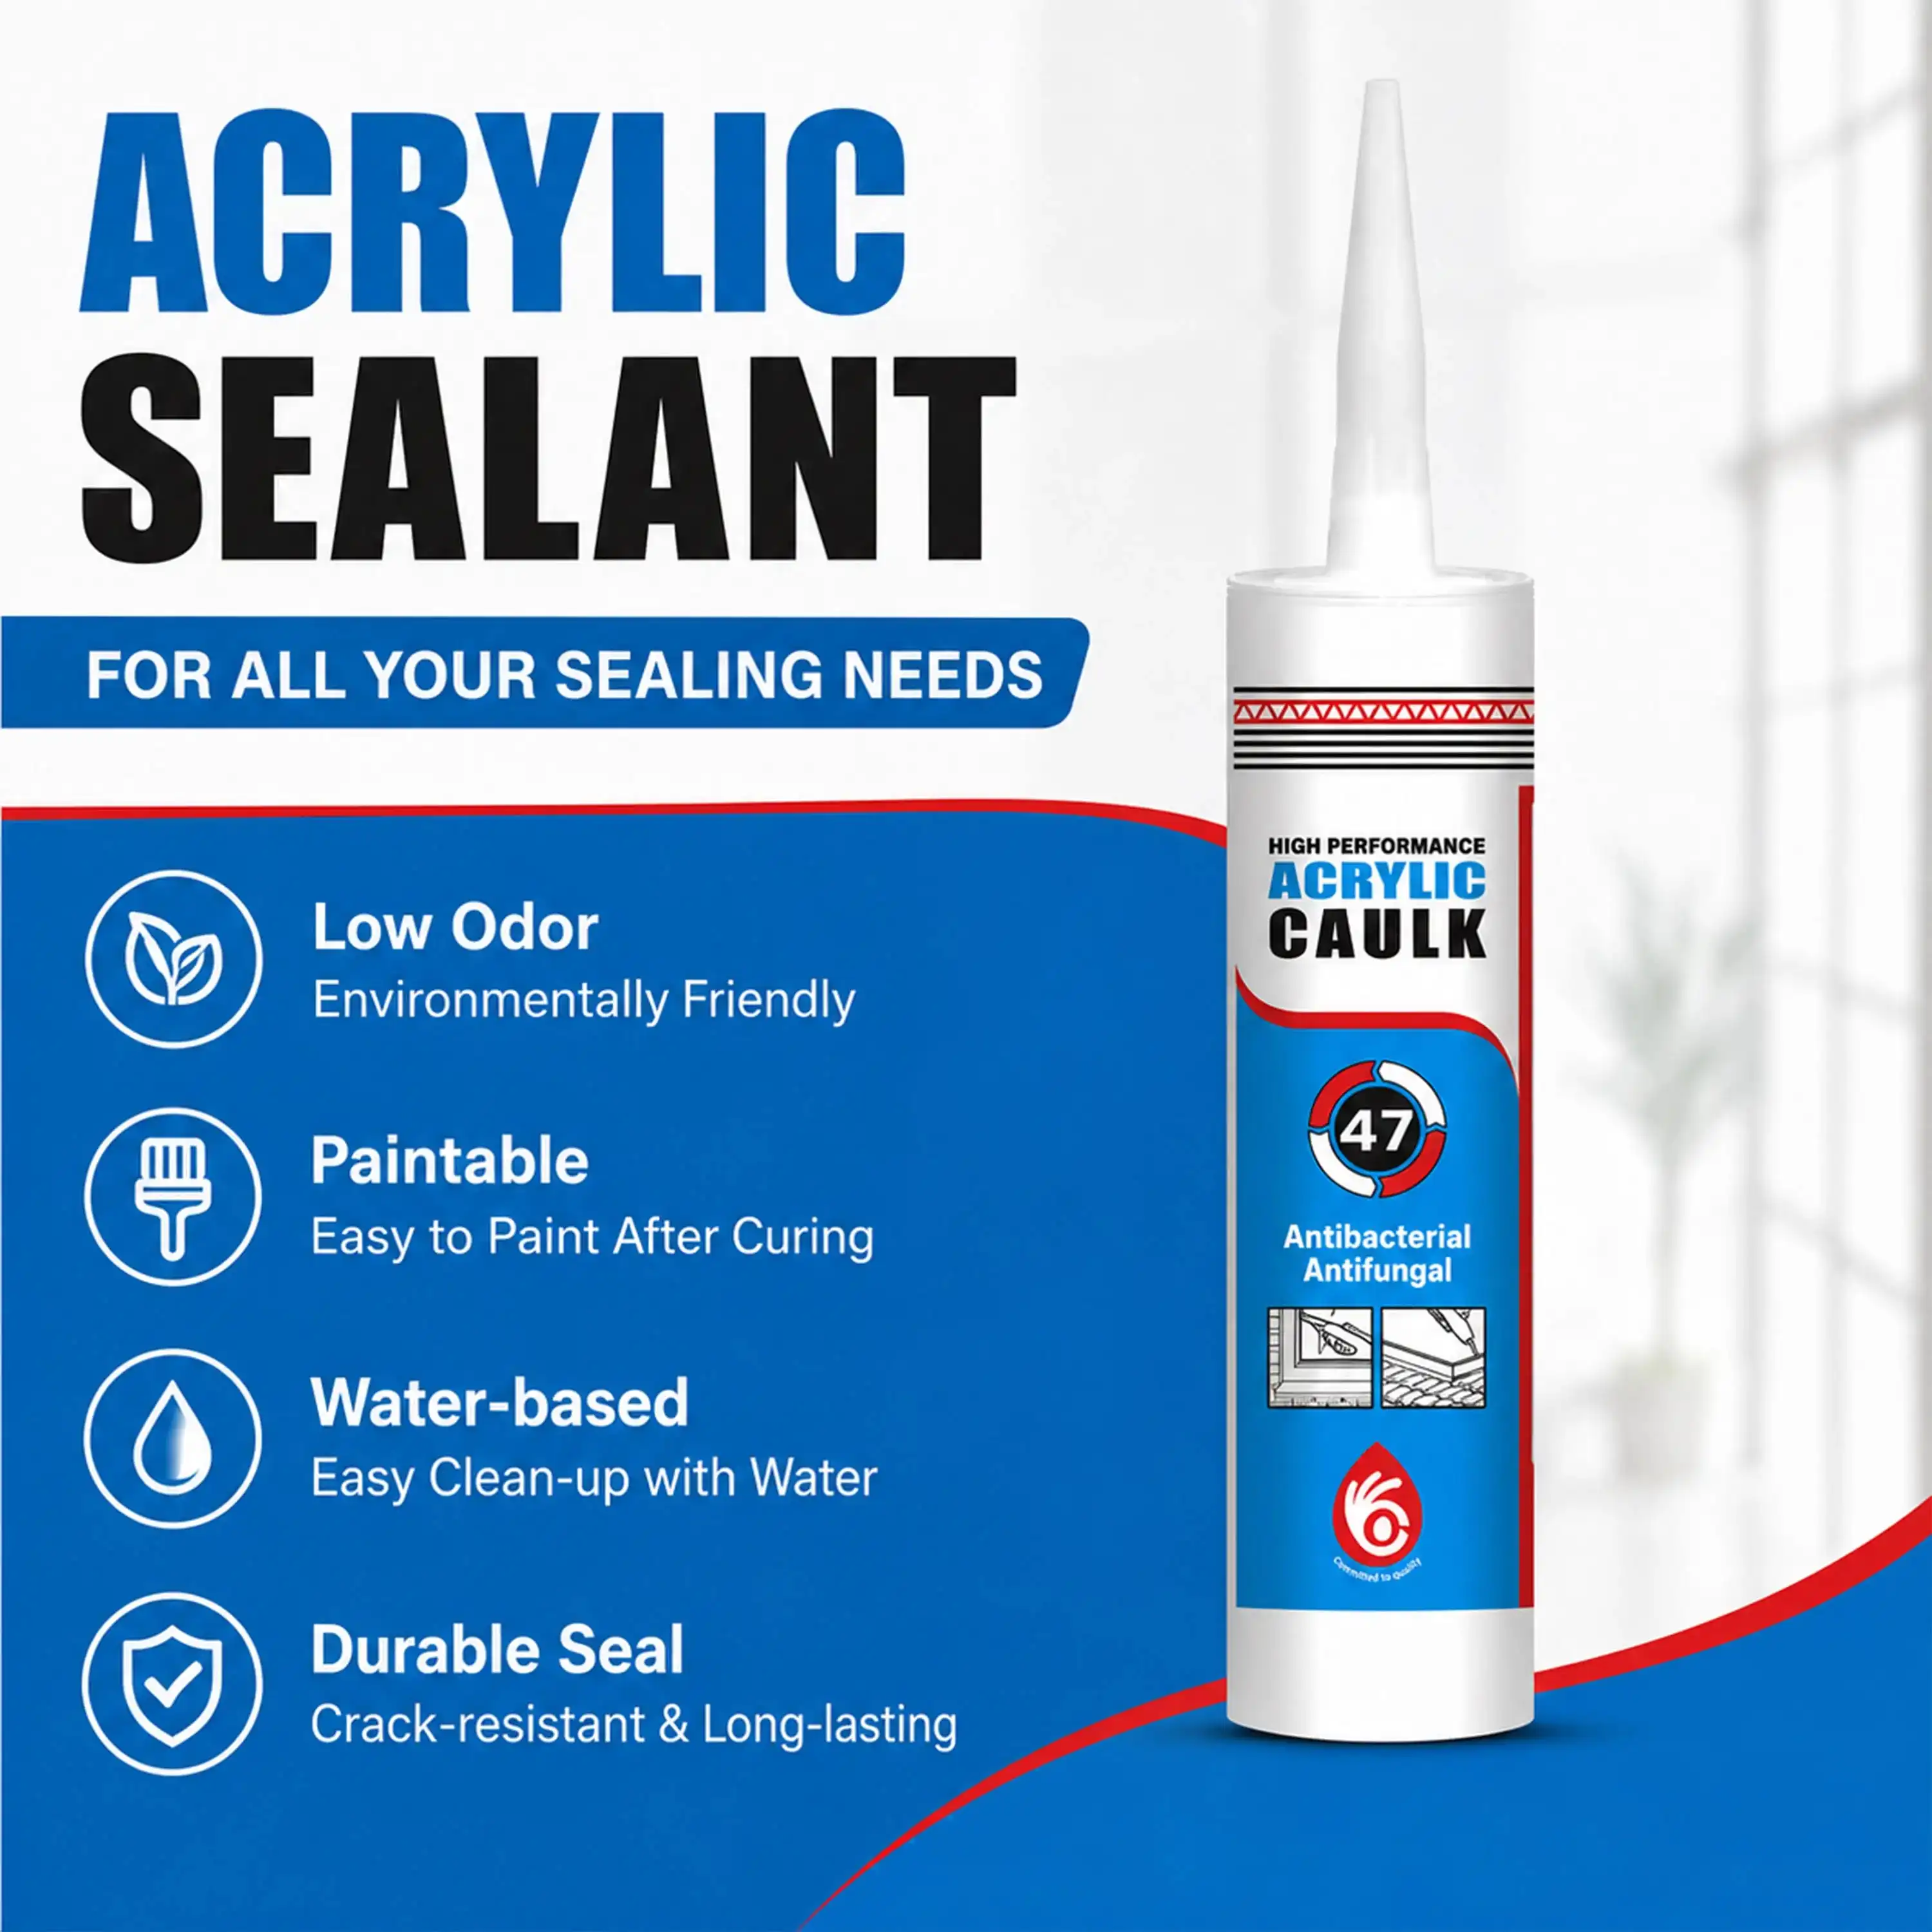
Strategic choices about where to get Acrylic Sealant for Wall and Ceiling affect both the short-term costs of a job and the long-term costs of upkeep.
Choosing manufacturers you can trust. Quality control is very strict at well-known companies that follow the ASTM C834 standards for rubber seals. Since 2013, contractors and wholesalers in North America and other countries have been getting consistent goods from our plant. Important things to look for when buying something are extrudability rates above 200g/min for easy use, volume shrinkage below 15% according to ASTM C733, and slump resistance meeting ASTM D2202 for both vertical and overhead joins. When choosing materials for business projects, ISO compliance, CE marking, and third-party testing records give you peace of mind.
Learning about pricing and volume choices. Our usual package comes in both cartridge and sausage shapes and sizes of 300ml and 600ml. For smaller jobs and repairs in the field, cartridges work best. For big installs, sausages cut down on packaging waste. You can choose from white, black, gray, and special RAL matches for building needs that need to keep the same look. Prices go down a lot when you buy more than one load, and deliveries usually happen one to two weeks after you confirm your order. Distributors like variable MOQ designs that keep product costs in check with changes in what customers want.
Looking at the ability to customize. OEM/ODM agreements let sellers differentiate their brands and give area suppliers the chance to use their own labels. We change the formulas to meet specific performance needs, like better UV protection, faster cure times, or specific material adhesion. For curtain wall contractors, color consistency across production runs is very important because they can't have obvious differences between project stages. Risk is reduced by trying samples before full orders, and our expert team helps with application troubleshooting throughout the lifecycle of a project.
To make an informed design, you need to know how the different types of Acrylic Sealant for Wall and Ceiling affect performance.
When it comes to interior uses, acrylic or silicone? Silicones are better at allowing movement (±50% joint movement) and staying flexible, but they can't be painted and cost a lot more per square foot. Acrylic Sealant for Wall and Ceiling options give up some flexibility in exchange for being easier to paint and less expensive. This makes them perfect for filling cracks before decorating, sealing cornices, and sealing the edges of door frames where looks and some movement are important. Our extrusion rate of 163 ml/min is higher than the usual minimum of 80 ml/min. This makes it easier for installers to work on big projects than with stiffer formulations.
The most important performance metrics. Real-world dependability is based on tensile strength, elongation at break, and binding qualities. Our product has a tensile strength of 0.64 MPa at 23°C and doesn't fail to stick to normal testing procedures. In vertical uses, the zero sag degree stops beads from falling, which breaks up the overall look. A skin dry time of 0.5 hours strikes a good mix between quick process and enough time to make tooling changes. These standards are in line with what is needed for commercial building projects that need to be done quickly without sacrificing quality.
Reading between the technical details. Formulations with a high solid content (80–85%) reduce the problems that come with economy goods shrinking. Cleaning up with water before curing is more useful than using solvents, because it lowers the risks on the job site and makes removal easier. The 12-month shelf life lets you plan your goods without having to worry about fast turnover. Environmental kindness is becoming more important in LEED-certified projects and business places that care about health. Our low-VOC formulation supports green building efforts without losing performance.
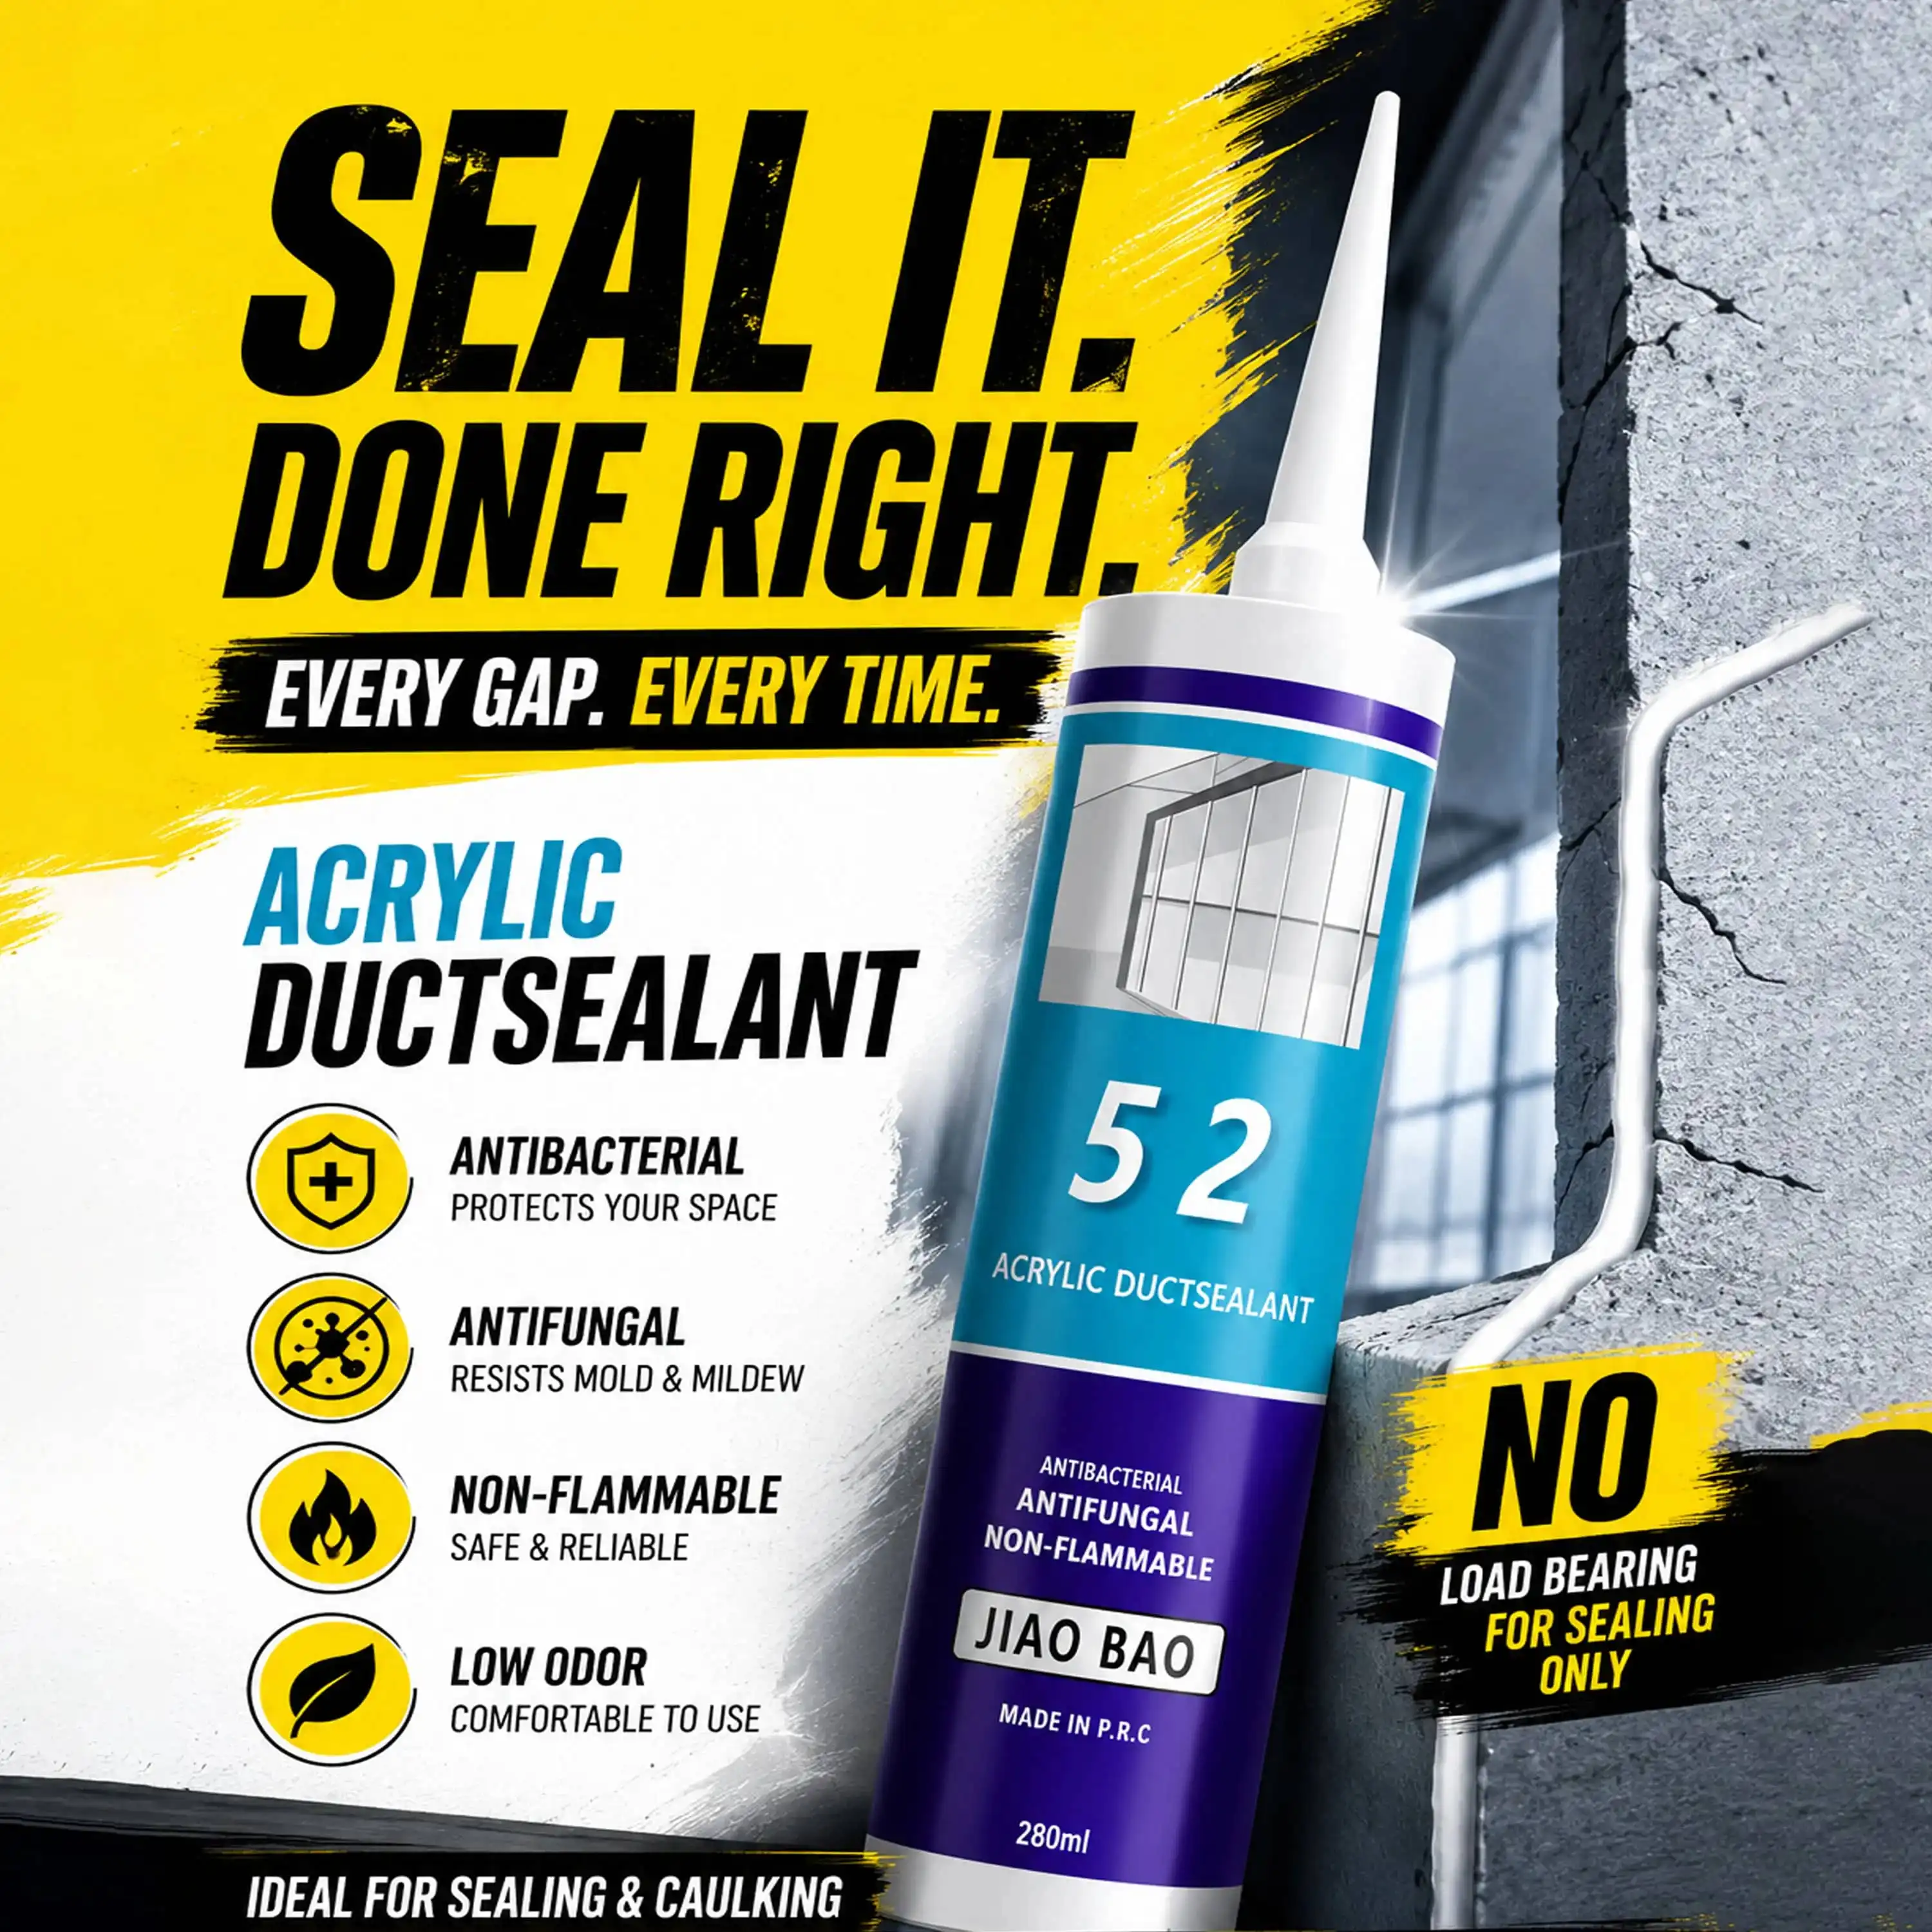
In conclusion, by not making these common mistakes after applying Acrylic Sealant for Wall and Ceiling, you can protect its performance and your project's investments. The most common mistakes we see in a wide range of uses are painting too soon, letting water in, handling too much, not properly preparing the surface, and joints moving during curing. If you follow the manufacturer's instructions on cure times, environmental conditions, and upkeep plans, Acrylic Sealant for Wall and Ceiling will work as well as it can.
Our water-based recipe strikes a balance between quick skin formation and full curing, paintability and flexibility, and environmental friendliness and industrial durability. When procurement managers, builders, and facility managers understand these principles, they can choose the right materials and follow the right installation procedures, which cuts down on callbacks and increases the service life of internal wall and ceiling uses.
How long must I wait before I paint over the Acrylic Sealant for Wall and Ceiling? After applying, wait at least two to three hours before painting. For important jobs, it's best to let the paint cure overnight. Our fast-drying product skins over in about 30 minutes, but it takes longer for the full cure to happen. Temperature and humidity have a big effect on these schedules; when it's cold, waiting times are longer. If there is schedule pressure, test a small area by painting a corner and watching for cracks or warping before moving on to bigger areas.
Is it okay to use Acrylic Sealant for Wall and Ceiling in the kitchen or the bathroom? Acrylic Sealant for Wall and Ceiling seals are good for places that won't get wet, like between cabinets and walls and around door frames. Don't use them in places that get wet all the time, like shower walls or bathroom covers, where sanitary silicone works better. The water-based chemistry re-emulsifies after being exposed to moisture for a long time before it fully cures. Once it's completely dry, our recipe can handle the splashing and humidity that you might find in a kitchen. This means it can be used to seal around sinks and countertops that aren't in direct contact with water streams.
Since 2013, Jiaobao has been a specialist in making high-quality Acrylic Sealant for Wall and Ceiling solutions for building companies, industrial makers, and sales partners all over the world. Our one-part RTV Acrylic Sealant for Wall and Ceiling dries quickly and is very easy to paint over. It comes with ISO and CE certifications that prove it meets strict international standards. Our open OEM/ODM customization options, such as RAL color matching, and reasonable bulk price structures that lower project costs without sacrificing quality are all things that procurement teams like. We have strict quality control that follows ASTM standards.
This makes sure that each batch performs the same, which is important for building projects that are done in stages. You can email our technical team at dorashen@cnjiaobao.com to talk about your unique sealing needs, ask for samples to test, or look into your choices for volume prices. Go to shandongjiaobao.com to find out more about our wide range of products and why top builders choose Jiaobao as their Acrylic Sealant for Wall and Ceiling supplier.
1. American Society for Testing and Materials. (2020). ASTM C834-20: Standard Specification for Latex Sealing Compounds. West Conshohocken: ASTM International.
2. International Organization for Standardization. (2019). ISO 11600:2019 Building Construction - Jointing Products - Classification and Requirements for Sealants. Geneva: ISO Publications.
3. Beech, D.J. (2018). Sealants in Construction: Second Edition. London: CRC Press.
4. Panek, J.R. & Cook, J.P. (2017). Construction Sealants and Adhesives: Fourth Edition. New York: Wiley-Interscience.
5. Wolf, A.T. (2016). "Durability of Building Sealants: State of the Art." Materials and Structures, 49(1-2), 3-21.
6. Klosowski, J.M. & Wolf, A.T. (2015). Sealants in Construction Engineering Handbook. Boca Raton: Taylor & Francis Group.
November 16,2023
Enterprise Name
The sealant has very strong adhesion and performs well even on glass and aluminum. After curing, it remains flexible and shows no cracking. Perfect for our facade projects.
November 16,2023
Enterprise Name
Stable quality across batches. Our customers especially like the smooth application and consistent extrusion. It helps reduce installation time on site.
November 16,2023
Enterprise Name
I used it for bathroom sealing. Excellent waterproof performance and no mold issues so far. It's been holding up very well in humid conditions.
November 16,2023
Enterprise Name
The neutral silicone works well on sensitive materials without corrosion. Very suitable for industrial applications requiring stable performance.
_1779347426672.webp)