November 16,2023
Enterprise Name
The sealant has very strong adhesion and performs well even on glass and aluminum. After curing, it remains flexible and shows no cracking. Perfect for our facade projects.
Sep 21, 2026
Yes — acrylic sealant for interior use can absolutely be painted after it fully cures, and that paintability is precisely what makes it the preferred joint sealant in professional interior finishing work. Water-based acrylic formulations cure through water evaporation rather than chemical reaction, leaving a flexible, porous surface that bonds readily with latex and water-based paints. Unlike silicone, which repels paint permanently, a properly cured interior acrylic joint compound accepts topcoats without bead crawling, adhesion failure, or color inconsistency — delivering the seamless visual finish that contractors and end clients expect.
Interior acrylic sealants rely on acrylic polymer dispersions. When the sealant cures, the water evaporates and the polymer chains create a plasto-elastic rubber seal that works like porous substrates like gypsum board, wood trim, and concrete blocks. These materials expand and contract with temperature, yet the sealant doesn't fracture. Good formulas offer minimal VOCs for indoor use. They are the benchmark for LEED-certified fit-outs without solvent odors or toxicity.
Silicone sealants keep water out and enable significant movement (typically exceeding 25%), but they can't be painted, which is a problem for interior trim lines. Polyurethane sealants attach well to metal and concrete, but they release more VOCs and require detergent cleaning. Interior acrylics are special since they can move reasonably (ASTM C834 rates them at 7.5% to 12.5%), are water-cleanable, and work with all latex topcoats. This blend requires painters, builders, and finishers to constantly have tubes.

Under normal conditions (23°C, 50% RH), a good internal Acrylic Sealant for Interior Use dries to the touch in about 30 minutes. The development of skin means that the top layer has hardened, but the inside of the bead may still have some water in it. One of the most common reasons paint crazes is applying paint over a bead that is dry on the outside but still wet inside.
The topcoat film traps water vapor that is trying to escape, and it then pushes through as tiny cracks. The full cure depth depends on how thick the beads are; a normal 6mm joint cures all the way through in 24 hours. On professional sites, you have to wait the full cure time before painting.
Some paints don't work well with acrylic joint glue that has been fully dried. This is how the big groups do:
Latex paint is still the standard in the business world, and most teams that finish the inside of homes use it along with acrylic seals.
Preparing the surface and managing the fix have a lot more to do with getting consistent results than how fast you apply the paint. Acrylic Sealant for Interior Use is the following process normal practice in the field.
Surface preparation is the key to keeping the joint together. Clean the joint of dust, grease, and other loose things. Remove any old paint or filler that is starting to break down. Make sure the surfaces of gypsum board or wood are dry before putting sealer. Putting sealant on wet substrates traps water and lets mold grow.
Application works best with a regular cartridge gun that has a tip that is cut at a 45-degree angle and is just a bit smaller than the joint width. Keep moving forward steadily to drop a bead that isn't broken. Use a wet finger or a plastic spatula to press the bead into the joint right away and make a concave filet. It's easier to paint a smooth filet than a convex bead.
How quickly you can start drawing is controlled by the "cure environment." The temperature where the product is being used should stay above 5°C. Cold weather makes water evaporate much more slowly and can break down an emulsion. Enough air flow speeds up the curing process without introducing dust contamination. In humid places, wait longer than the usual 24 hours before curing.
Painting shouldn't start until the bead is completely dry. If you want a clean cover over the joint line, use a brush instead of a roller to apply the latex topcoat. One thick coat doesn't work as well as two thin coats. The first coat seals the surface, and the second coat matches the color depth and sheen.
Painting should begin only after the bead has fully cured. Apply latex topcoat with a brush rather than a roller for clean coverage over the joint line. Two thin coats produce better results than one heavy coat — the first coat seals the surface, and the second delivers the final color depth and sheen match.
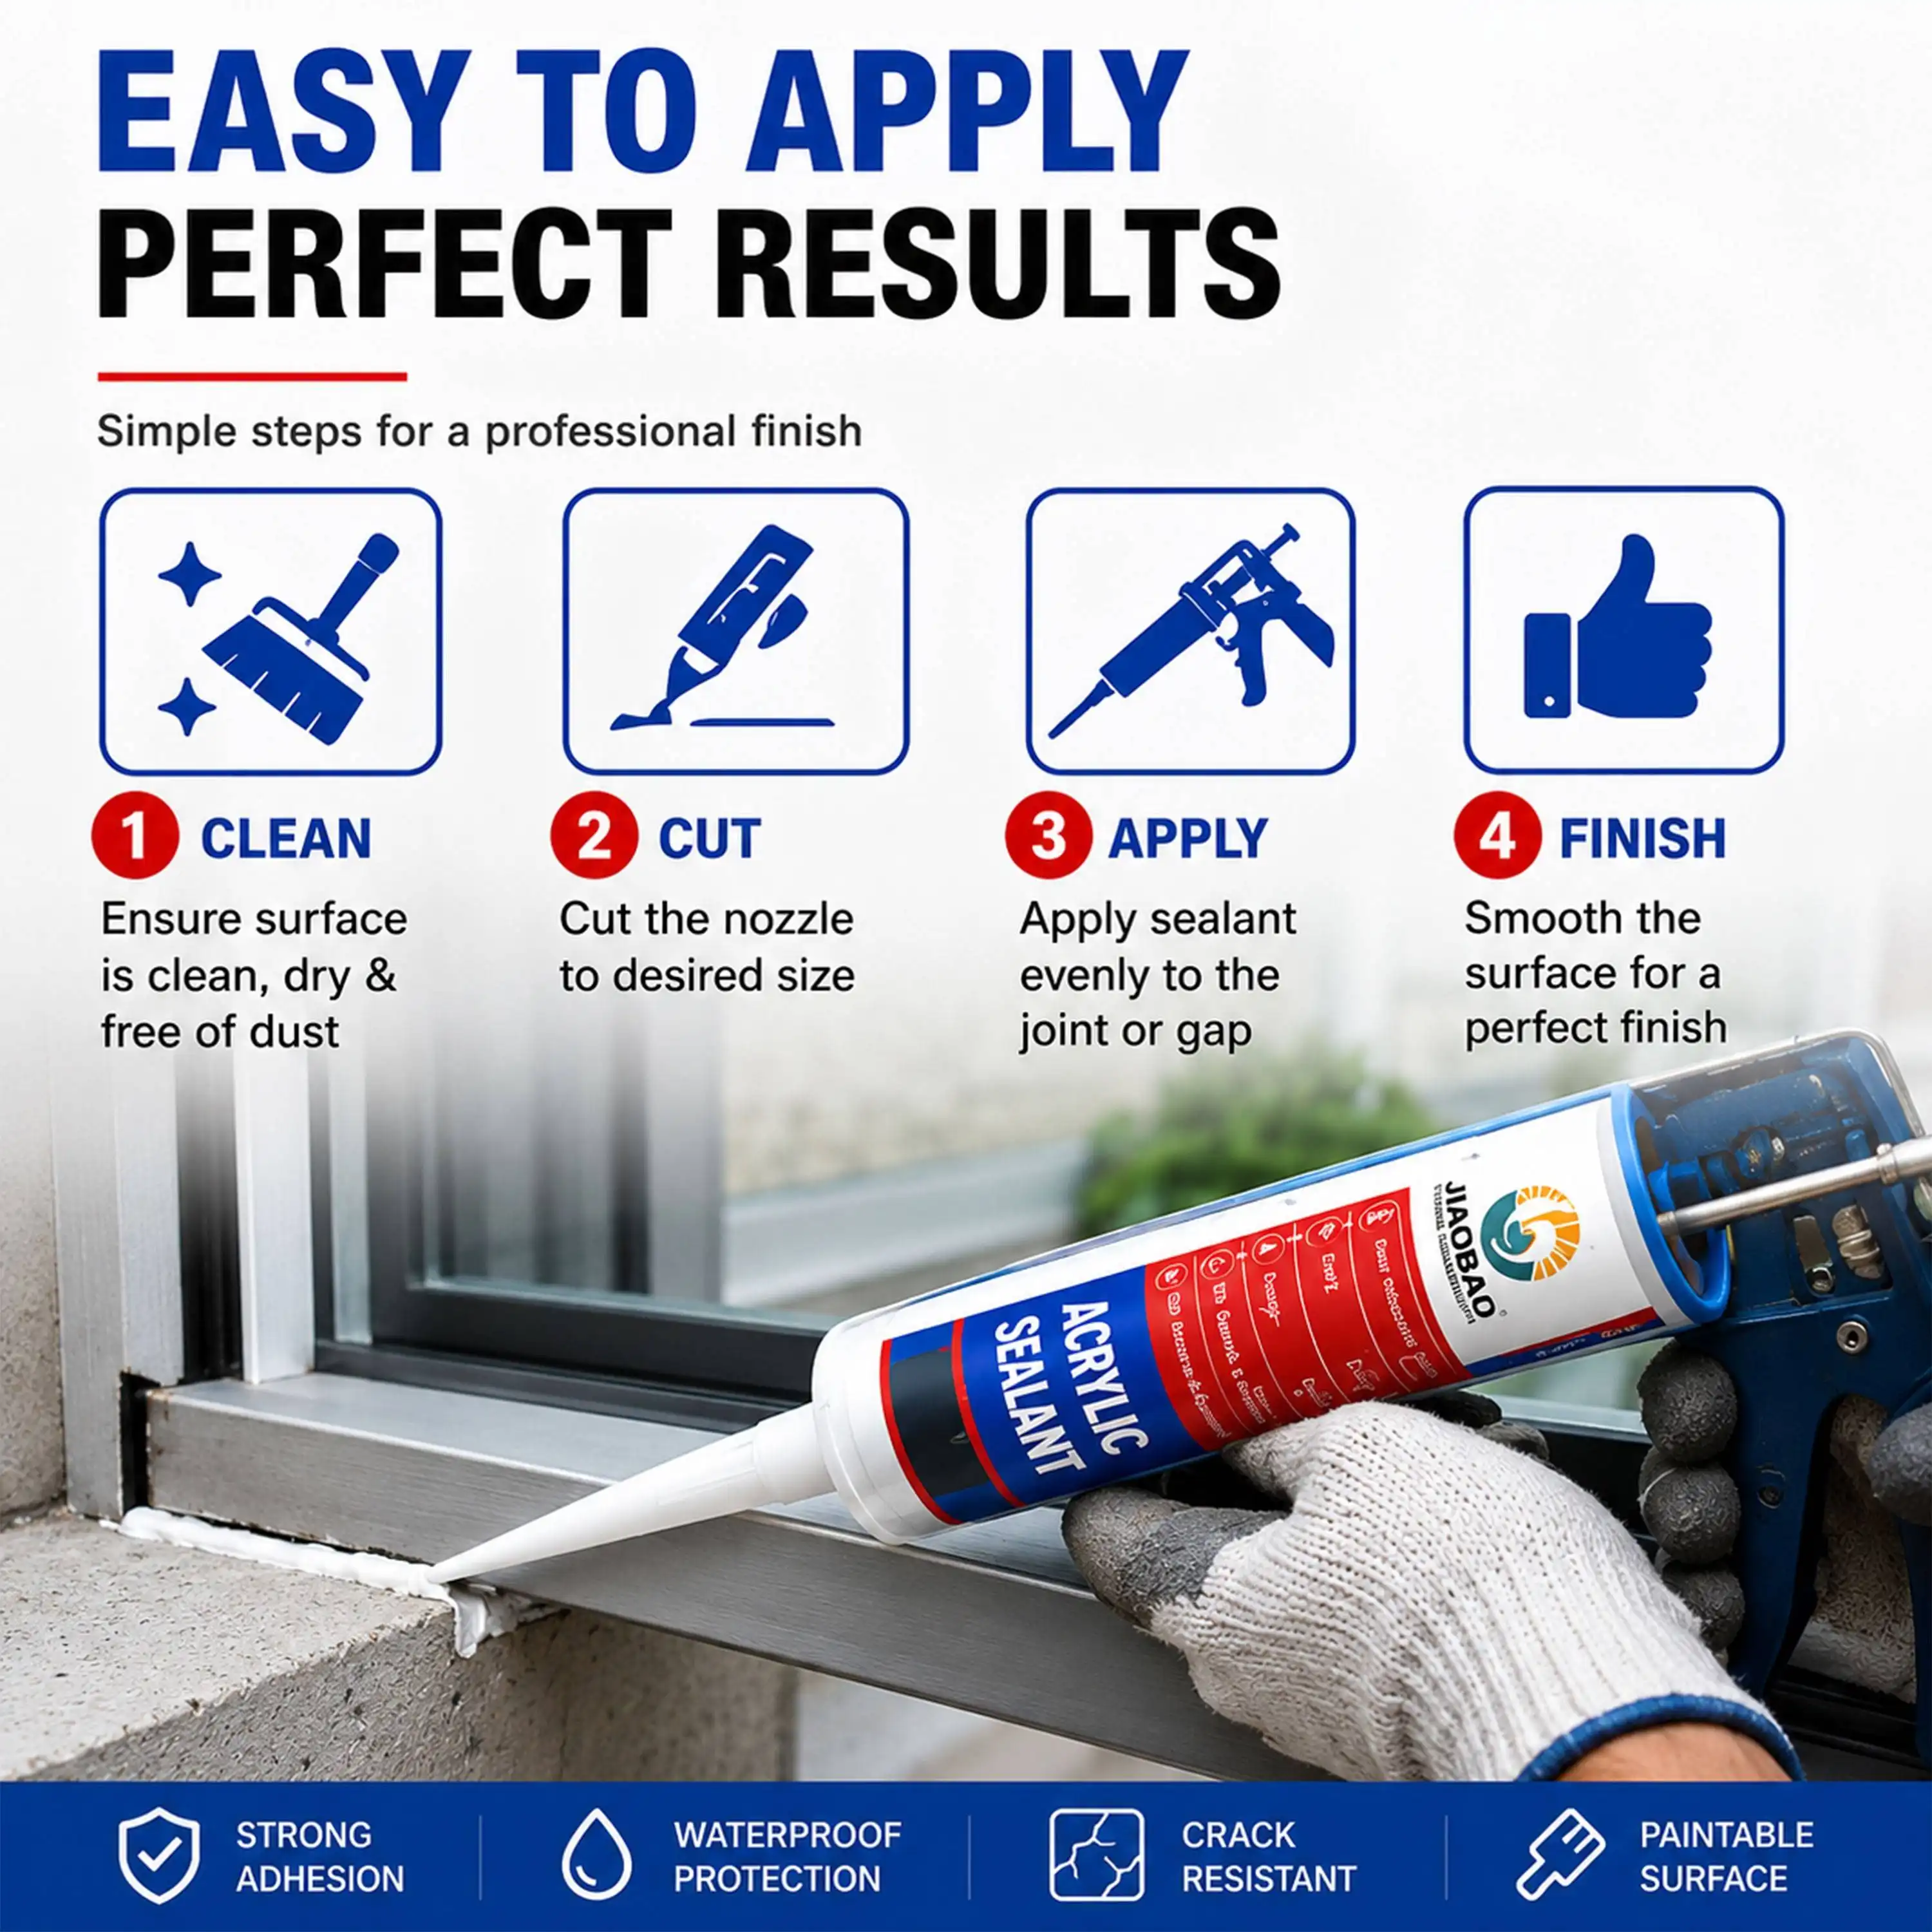
It's not just the price that matters when judging internal joint sealants. When used in professional settings, a product's performance is determined by the following factors:
These factors have a direct effect on job quality, the number of reworks needed, and customer happiness. Acrylic Sealant for Interior Use is one such factor, and these are all measurable results that support choices about which suppliers to choose.
Paint crazing, delamination, and mold development cause most interior sealing calls back. Topcoating too soon before the paint dries or sealant shrinking due to insufficient solids cause cracking. Sealant that doesn't cling to the substrate is generally applied on filthy or moist surfaces. If the sealant fractures cohesively weeks after installation, the joint movement may exceed the product's Movement Accommodation Factor. This indicates a need to revise the requirements, not a product failure.
To keep mold from growing, standard interior acrylic sealants are hydrophilic, which means they shouldn't be used in wet places like bathrooms or kitchen backsplashes. In those places, you should use a siliconized Plexiglas with biocide built in or a neutral-cure silicone. Ventilation during and after application shortens the time it takes to cure and lowers the risk of microbes growing in places where air flow is low.
Interior acrylic joint sealant is included in professional finishing kits because it neatly fills in gaps while keeping surfaces that can be painted and look like they are one piece. Acrylic Sealant for Interior Use is no other type of sealer can do this. Its water-based chemistry keeps VOC levels low, it cures in a reliable way, and it has been shown to work well with rubber topcoats.
It is much less likely that clients will complain or need to be fixed when procurement teams specify a sealant with confirmed solid content, confirmed sag resistance, and documented VOC compliance. The one thing that makes the difference between a smooth finish and a paint failure callback is knowing when the paint is fully cured, not just skin-dry.
Wait until the bead has fully cured through its entire depth — typically 24 hours at 23°C and 50% relative humidity for a standard 6mm joint. Skin-dry time (approximately 30 minutes) only indicates surface consolidation, not internal cure. Painting too early traps moisture vapor and causes paint crazing.
You can, but latex paint performs more reliably. If you must use an alkyd or oil-based product, allow the sealant to cure fully, lightly abrade the bead surface, and apply a compatible primer first. Adhesion will be less consistent than with water-based topcoats.
Application temperature must stay above 5°C. Water-based acrylic emulsions can break irreversibly if frozen during cure. Avoid applying in cold, damp conditions where water evaporation stalls.
Standard formulations are not recommended for consistently wet areas. The hydrophilic polymer can re-emulsify under prolonged water exposure. Use a siliconized acrylic with a biocide additive, or a neutral-cure silicone, for sanitary joints.
Cohesive cracking usually means the joint movement exceeded the product's rated Movement Accommodation Factor (typically 7.5%–12.5% per ASTM C834), or the bead was applied too thin to accommodate expansion forces. Review joint design and respecify if movement is structurally significant.
With a skin-dry time of 30 minutes, 0mm sag on vertical joints, and an extrusion rate of 163 ml/min, Jiaobao manufactures a one-part RTV Acrylic Sealant for Interior Use. It comes in 300ml and 600ml cylinders and sausage packs in White, Black, Gray, or unique colors. It is certified by ISO/CE and has a shelf life of 12 months. Our company is a reliable source for Acrylic Sealant for Interior Use. We offer OEM/ODM production, variable MOQs, and wait times of 1–2 weeks. To get samples, email us at dorashen@cnjiaobao.com or go to shandongjiaobao.com.

1. ASTM C834 Standard Specification for Latex Sealants — ASTM International, 2023.
2. ISO 11600 Building Construction — Jointing Products — Classification and Requirements for Sealants — International Organization for Standardization, 2022.
3. ASTM C639 Standard Test Method for Rheological (Flow) Properties of Elastomeric Sealants — ASTM International, 2021.
4. ASTM C731 Standard Test Method for Extrudability, After Package Freeze-Thaw Cycling, of Latex Sealants — ASTM International, 2020.
5. Construction Sealants Market: Technology and Application Review — Adhesives & Sealants Industry Magazine, 2022.
6. Low-VOC Interior Finish Materials and Indoor Air Quality in LEED-Certified Buildings — Journal of Green Building, 2021.
November 16,2023
Enterprise Name
The sealant has very strong adhesion and performs well even on glass and aluminum. After curing, it remains flexible and shows no cracking. Perfect for our facade projects.
November 16,2023
Enterprise Name
Stable quality across batches. Our customers especially like the smooth application and consistent extrusion. It helps reduce installation time on site.
November 16,2023
Enterprise Name
I used it for bathroom sealing. Excellent waterproof performance and no mold issues so far. It's been holding up very well in humid conditions.
November 16,2023
Enterprise Name
The neutral silicone works well on sensitive materials without corrosion. Very suitable for industrial applications requiring stable performance.
_1779347426672.webp)